Two numbers and one photo.
Width and height at their widest points, in inches or centimetres. A tape measure, not a phone app. Five minutes, and the fit is on us.
- A steel tape measure. Phone apps are off by an inch or two, which is a visible seam.
- A second person for walls over 8 feet, or painter's tape to hold the end.
- Your phone, for the photo of the tape.
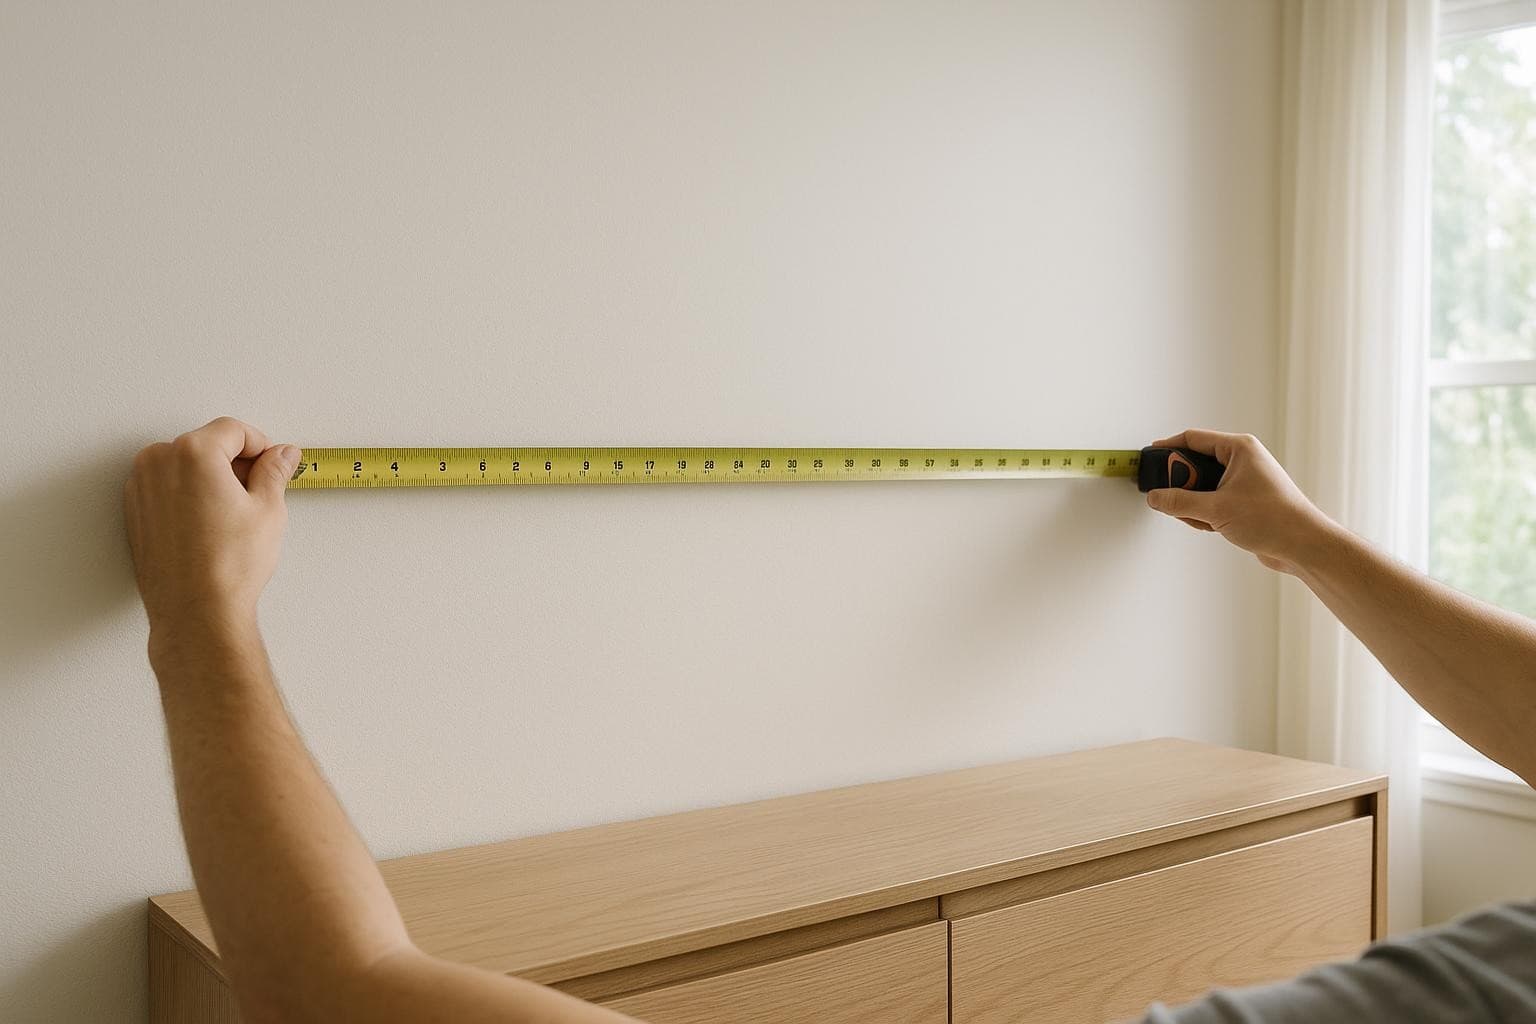
The three steps
1. Width, at three heights
Corner to corner near the floor, at eye level and near the ceiling. Write down the largest number. Walls are rarely square; the widest point is the one that matters.
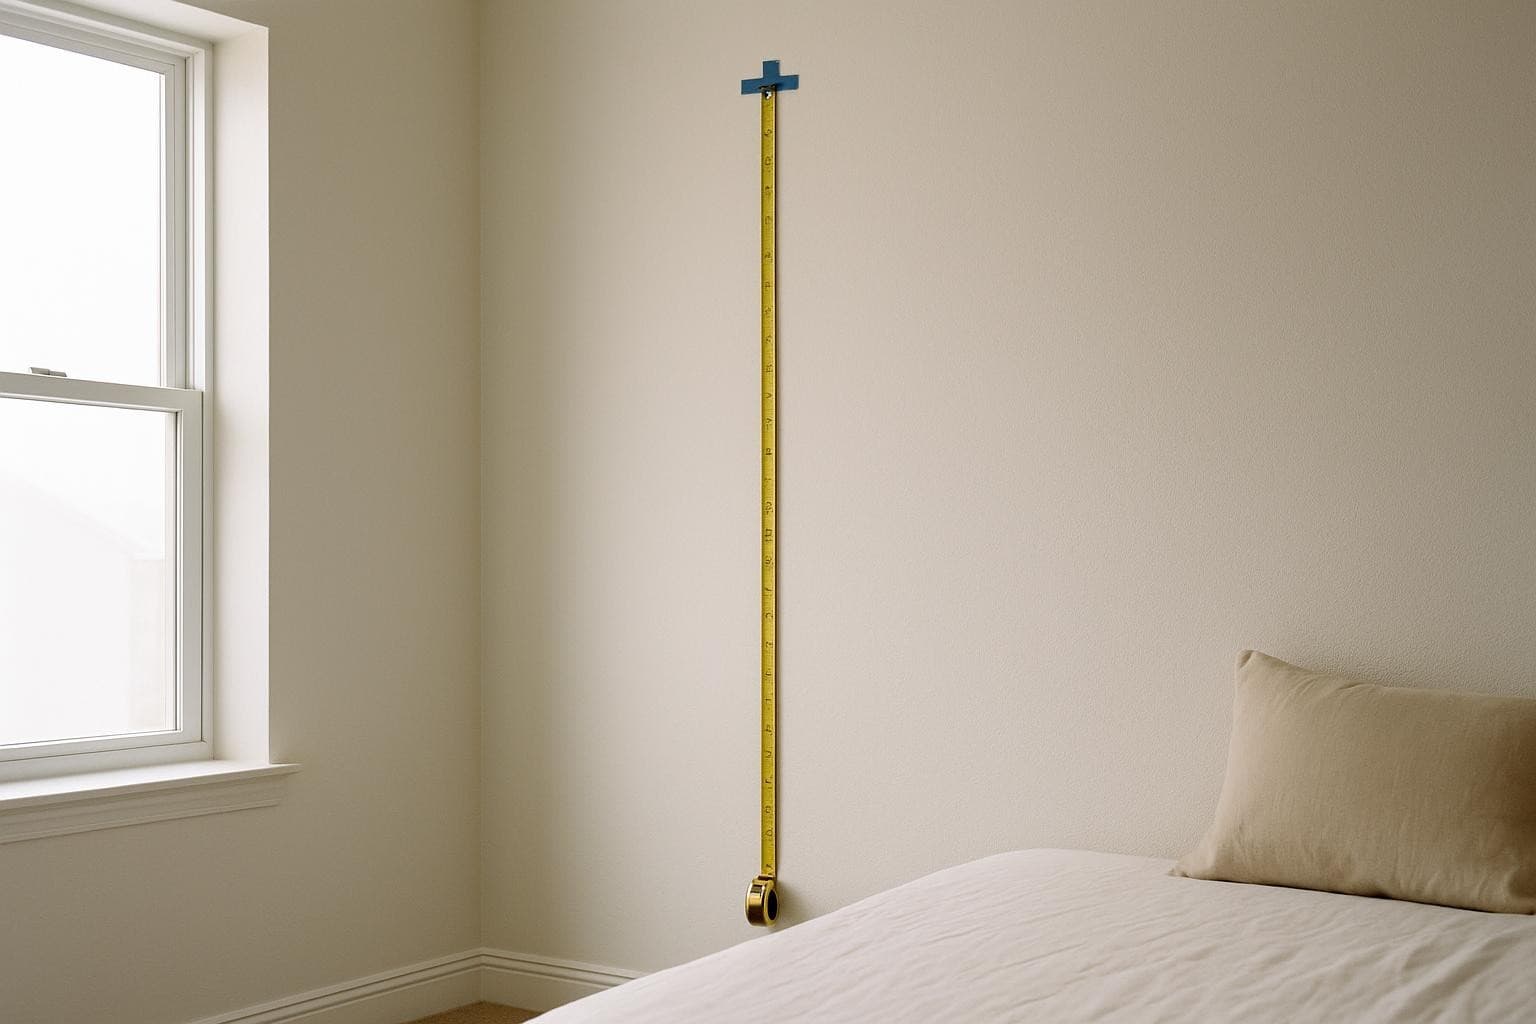
2. Height, at both ends
Floor to ceiling at both ends and in the middle. Use the tallest. If you will paper up to a baseboard or crown molding, measure to its edge instead.
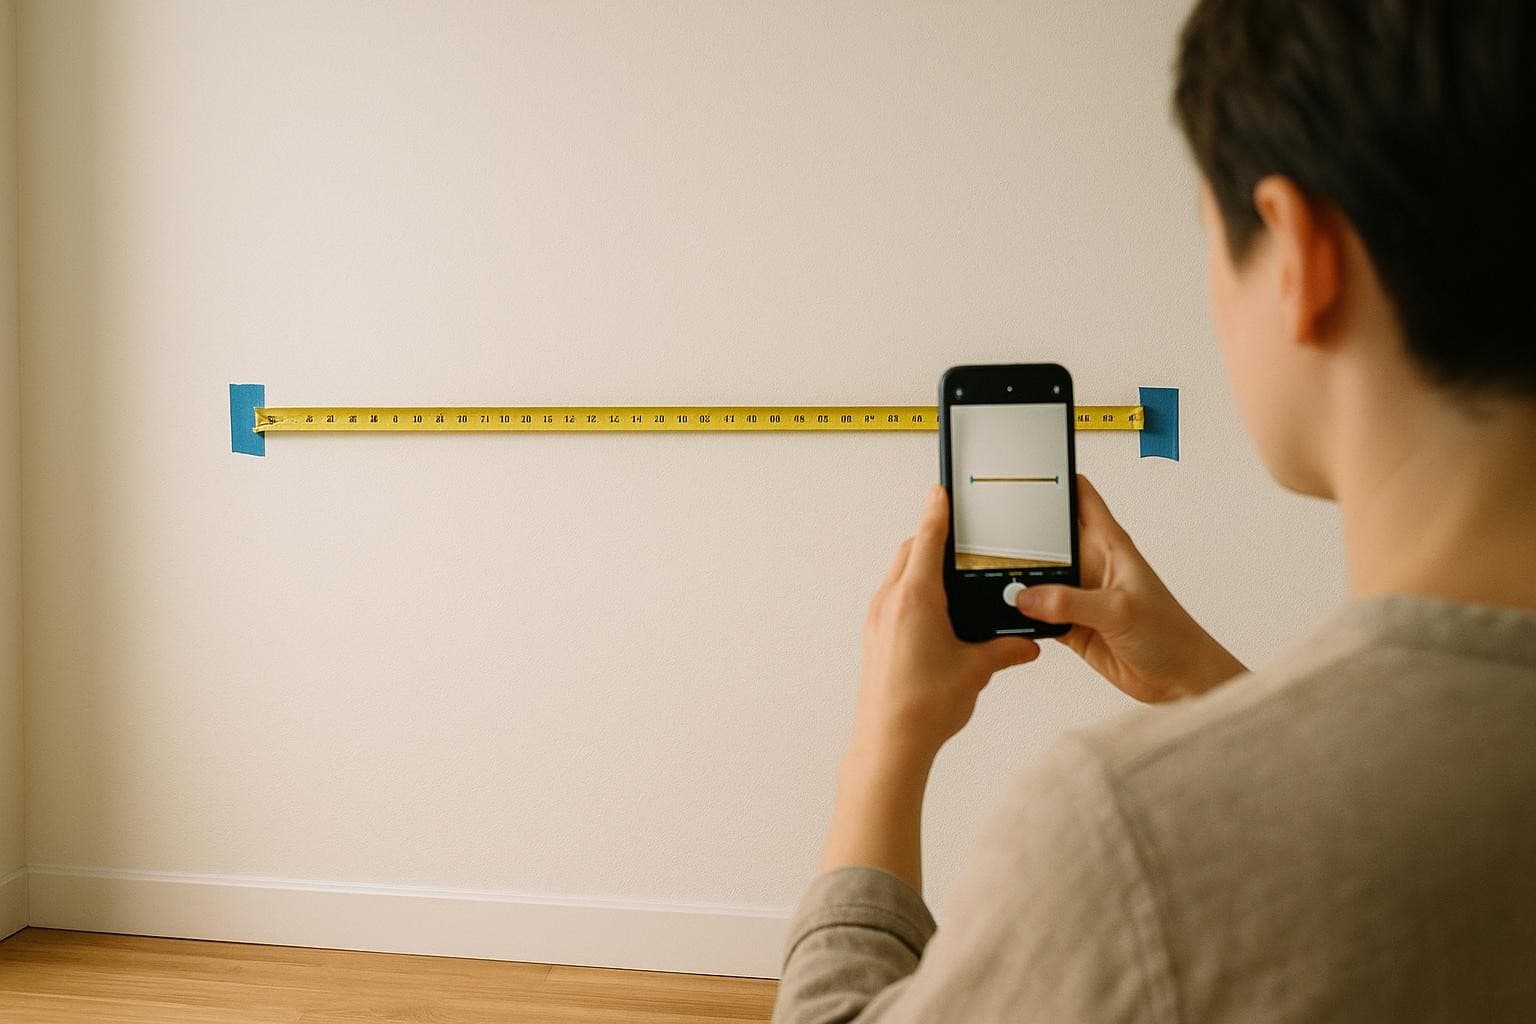
3. One photo of the tape
Tape across the wall, number legible. Upload it on the thank-you page. We compare it with what you typed and write to you before printing if the two disagree.
Windows, doors, outlets: do not subtract them
We print the whole wall so the pattern runs continuously; openings are trimmed on the wall during installation. Outlet covers come off and go back on over the paper. A wall of 10′ 1″ × 8′ 1″ is typed as exactly that.
Why every panel is 4 inches taller than your wall
Ceilings dip and floors slope. Each panel prints 2 inches longer at the top and 2 at the bottom; the extra is trimmed on the wall with a straightedge. Width is printed to your number plus the overlap the material needs, nothing more. You pay for the printed area, so the bleed is in the price you see.
What your numbers turn into
A wall of 121 × 97 inches on Peel & Stick Fabric: 6 panels, each 24″ wide and cut to 101″ with the bleed, numbered left to right. This is drawn by the same code that prints the order, not an illustration.
Want to see your own wall? Type it on the home page: the panels lay out on a photographed wall and the price updates as you go.
Unsure? We check before you pay.
Send the numbers and the tape photos here, no card and nothing ordered. A person compares them and replies the same business day. Sloped ceilings, stairwells and walls with a jog are the usual reasons to write. That review is free and it is what makes the fit guarantee possible.